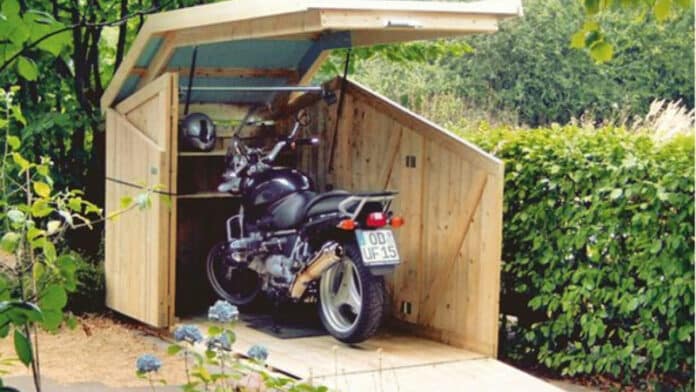
DIY Small Motorcycle Storage Sheds Ideas: How to Build One

Over crowded garage? No problem, you can always build a storage shed for your motorcycles or even bicycles.If you are a DIYer, you probably don’t want to outsource the job or even buy a ready-made shed / tent.
DIY doesn’t mean you can’t take instructions though, and that’s what we are going to give you here: a set of guidelines on how to go about building the best motorcycle storage shed.
Table of Contents
Before You Start, Get Permission
Since you can’t just start building a structure on your property, the real first step is to get a building permit from your local building department. You will also need to get consent from zoning board, health department, and the inland wetlands commission.In fact, you will probably need to get consent from these other bodies before the building department considers your application. Submit your shed plans along with your application to speed things up. You can either draw the plans up yourself or you can purchase them.The building inspector will then do a review of your building plans to check if they conform to national and local building codes. In case of any violations, the building inspector will indicate what is not right and suggest solutions.However, not all towns require you to get permits before you can build a shed. For instance, in some towns, you may not need permits if the shed is under 10 x 10. You should do some research on the relevant building regulations for your area.
DIY Small Motorcycle Storage Shed Ideas: Step 1, Lay the foundation
Remove rocks and any protruding roots, and level the ground. If there are any potholes, fill them.You can build an on-grade foundation that comprises solid concrete blocks or you can set down pressure-treated timbers (skids) directly on the ground. For a larger shed, you would need a permanent concrete foundation, but this will do for a motorcycle shed.Whether you use concrete blocks or pressure-treated timbers (skids), ensure they are perfectly level and that you place them near enough to support the floor frame of the shed.3/4-inch pressure-treated plywood (tongue and groove) is the best. The pressure-treatment makes it resistance to rot caused by excess moisture, and the pieces of wood lock together firmly.It might be necessary to install floor joints as support for the plywood.Soil erosion being a possible threat, ensure you set the blocks or timbers on a bed of compacted gravel that is at least 4 inches deep.For a relatively small foundation, you can use a hand tamper to compact the gravel. This being simply a motorcycle storage shed, that should suffice. If, however, you are building a shed larger than 8 x 10 feet (maybe for several bikes), make the work easier for yourself by renting a gas-powered plate compactor.Where possible, you should consider building the shed several inches above the ground surface. This provides space for air and water to flow underneath, and that adds to the longevity of the structure.It is worth noting that even if you aren’t building your own shed and are instead buying a prefab shed, you will still have to build a foundation.
Step 2: Floor Frame
The next step is building a weather-resistant floor frame.A shed’s floor frame will include floor joists, mud sill, and perimeter band joists.The floor frame is vulnerable to wood-boring bugs and rot because it is so close to the ground. That is why the best material to use for your floor frame is pressure-treated lumber.


If you are buying a prefab shed, we would not advise you to take one whose floor-frame is made from untreated construction-grade lumber.The floor deck will need ¾-inch plywood (exterior grade) – anything thinner than that will end up flexing between the joists. You can also use a double layer of ½-inch exterior plywood.If the area you live in has a really high humidity level, you should use pressure-treated plywood even for the floor deck. Pressure-treated plywood is highly resistant to moisture – and insects as well.
Step 3: Build walls
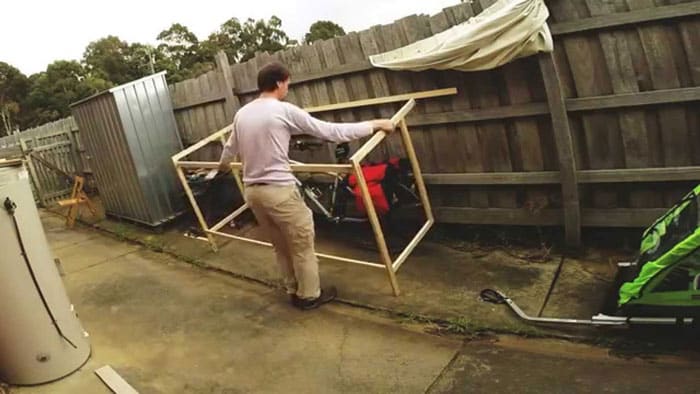
You first construct the frames for the two sidewalls, after which you construct the back and front frame.There should be a door space in the front wall.After you complete building the two side walls, raise them up at an angle of 90 degrees to the foundation. For the time being, hole them up using planks that you nail to the wall frames and the foundation.Next, you build the two remaining walls: back and front; and attach them to the side walls and to the roof.Install your door in the front wall’s door space.
Step 4: Build roof
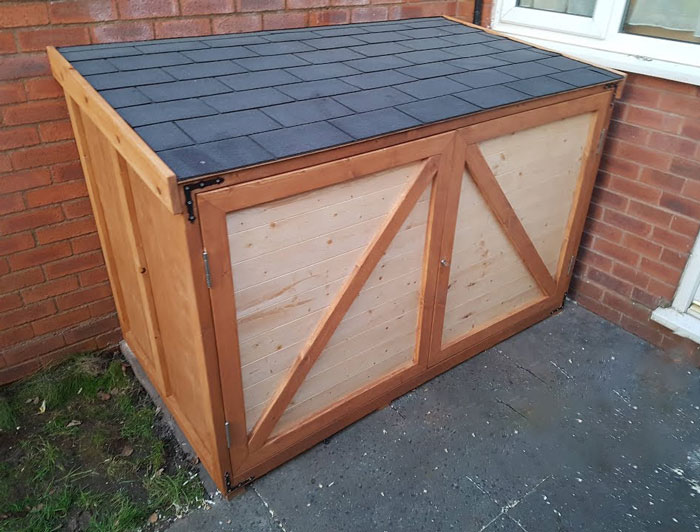
Once you have raised the two side walls, the next step is connecting them by building the roof and the rafters.The rafters extend upwards from the wall studs.Each rafter truss should be built separately. The completed one becomes the template you use to build the subsequent ones.After attaching, make sure the rafter’s bottom is flush with the siding.After attaching all the rafters, use decking material to cover the roof frame. Next you shingle the roof.


Step 5: Finishing touches
To ensure your new shed is well protected against the elements, you can either paint it or stain it. You can paint with a sprayer or a paint roller, doubling up with a hand brush.
The attraction of a clear stain is that it retains the rustic appeal of the charm (because it does not cover up the wood construction) and at the same time protects the shed from the elements.
Conclusion
There are many ways available out there and this is just one of them. This is a durable shed that can withstand all sorts of weather – unlike some flimsy ones that can be knocked over by a strong wind. This shed should protect your motorcycle(s) for years to come.
