How to Install Sirius Radio on a Motorcycle?

Sirius XM Radio is very popular nowadays among motorcycle radio systems and is considered the best radio for motorcycles. But most people have a tough time installing it. You can go to shops and have the people there do it for you, but it obviously comes with a price.
So, if you want to know how to install Sirius Radio on your motorcycle by yourself and avoid extra costs, then we’ll help you learn how to install it in a few easy methods.
Table of Contents
Methods of Installing Sirius Radio on a Motorcycle
To install a radio system like Sirius XM, you need to first know where you want to install it, how you will provide power to it and how you want to hear it. There are many kinds of Sirius radios, so choose whichever you like, because most installing methods will be the same and apply to all of the Sirius radio systems.

Right now, we’ll talk about the different methods you can use to installing a Sirius radio on your motorcycle.
Method 1: Using Universal Motorcycle Mount Kit
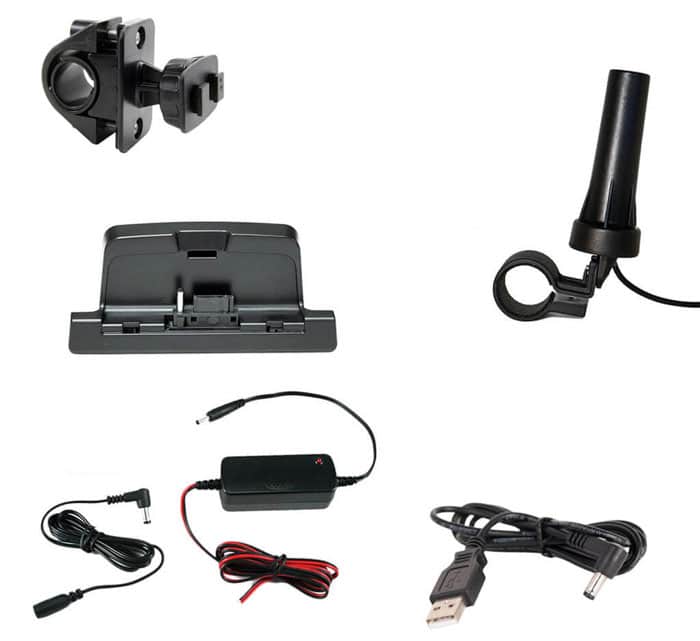
This method is by far the easiest compared to all other methods out there. Here, you just need a universal motorcycle mount kit, a plug, the radio itself, speakers, or headphones.
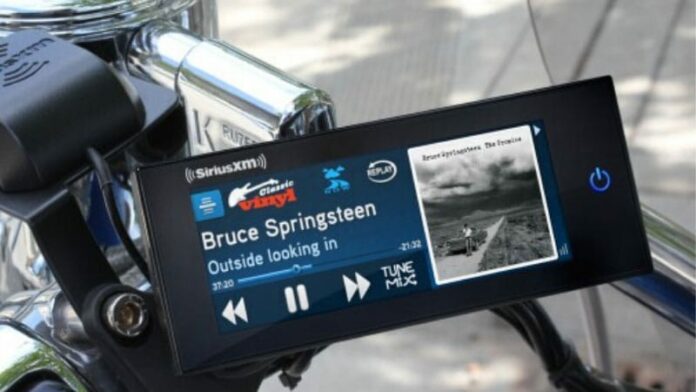
All you need to do is use the universal motorcycle mount kit that comes with a plug. This is how you mount a radio on the handlebar. After that, you just need to connect it to speakers or your headphones.

Method 2: Using Custom Sirius Mount
This method might not be that easy compared to the previous method. Here you use a custom Sirius mount. The bracket meant to hold the radio is assembled on the right brake or left clutch. It is applicable to most common motorcycle brands.
Method 3: Using Sirius In-Dash Connect Kit
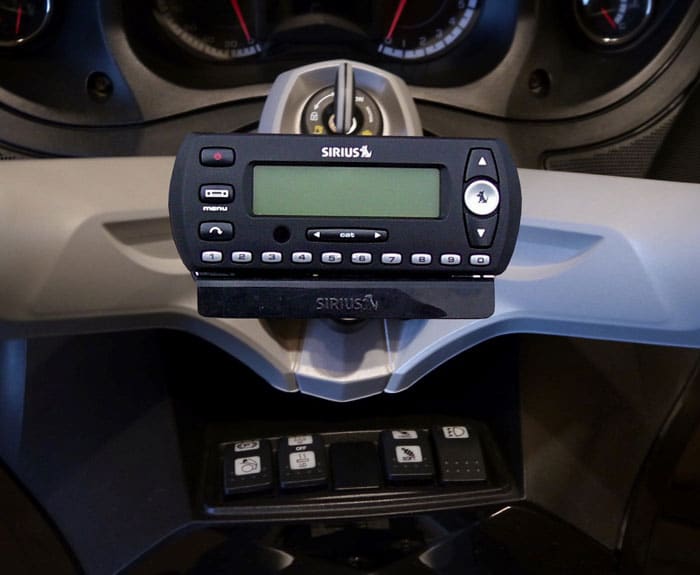
This method is also very hard because, for this, you need to install an aftermarket stereo on your motorcycle. You also need a Sirius In-Dash Connect kit. With this kit, you can connect the audio directly and also get a custom look on your dash.
Method 4: Using Universal Hardware Kit
In this method, you'll need a universal hardware kit. And in this kit, you'll find universal adapters that have endings that are receptacle shaped like those lighter accessories you find in cars.
It also has an end cap, which can be closed when you're not using it. Like the lighter, this is also connected directly to the battery of the motorcycle when you put it back in place.

Another important task is to make sure you check voltage output and amperage and only buy hardware meant for this radio specifically.
Since radios have audio ports to allow you to use Bluetooth, you'll need to get yourself a Bluetooth earpiece or have your helmet have Bluetooth transmitters installed in with speakers and a microphone.
Method 5: Using AMPS Mounts
Use AMPS mounts to support the bracket or cradle. It will attach easily like car suction mounts. Don’t forget to tether your radio because radio cradles don’t usually have locking features to keep the radio safely in place. You can also get clutch attachments meant for attaching radios on the handlebars.
Method 6: Using Handlebar Mounts
Handlebar mounts are pretty popular because they are better as supports for Sirius radios. They come with a 4-hole AMPS pattern at the back, making them perfect as cradles. The mounts are made of hard plastic, so it won't be too heavy.
Managing the antennae is also important when mounting the radio. Never attach your antenna in a closed up area on your motorcycle. It has to be exposed and pointing upwards.
For this, it's best to buy an antenna that's short in length so that the length sticking out won't bother you even if you attach it right on the front if you have a fairing on your motorcycle.
Final Words
Sirius Radio is definitely the best radio for motorcycles. We've discussed various methods and places you can install and mount your radio onto your motorcycle.
This way, you can enjoy every ride, whether you're talking to people on the call or listening to music. We hope that the above methods have helped you in knowing to install Sirius radio on a motorcycle.
